
You work in your own shadow
If the only light is overhead and behind you, your body blocks it at the counter. Task light has to come from in front of and above the work surface to be useful.
Under-cabinet lighting is the highest-value lighting upgrade in most kitchens. Ceiling cans put your own shadow on the counter. A linear LED run mounted at the front edge of the cabinet bottom puts light where you are actually cutting, and hides the strip itself so what you see is the countertop rather than a row of bright dots.
If the only light is overhead and behind you, your body blocks it at the counter. Task light has to come from in front of and above the work surface to be useful.
Stick-on battery or plug-in strips fall off, run cords down the backsplash and burn out unevenly. They are a symptom of a real need, not a solution to it.
Individual puck lights or a bare LED strip with no diffuser throw visible hot spots. A channel with a frosted lens turns that same strip into an even line.
A strip mounted at the back of the cabinet bottom reflects straight into your eyes off polished tile or quartz. Moving it to the front edge solves it completely.
When the strip reads blue and the ceiling cans read warm, the whole kitchen looks mismatched. Everything in a connected space should share one Kelvin value.
Mounting position decides how the whole installation looks. A linear source mounted at the front edge of the cabinet bottom, just behind the face frame, lights the full depth of the counter and stays hidden from anyone standing in the room. Mounted at the back, it lights the backsplash and reflects glare off a glossy surface straight at whoever is working. This one detail separates an installation that looks built-in from one that looks stuck on afterward.
Continuous linear runs beat individual pucks in a kitchen. Pucks throw distinct pools with dark gaps between them, which reads as spotty across a long counter. LED tape in an aluminum channel with a frosted diffuser gives an even line, and the channel doubles as a heat sink, which matters for how long the diodes last. Runs get cut to the cabinet layout so they start and stop at the cabinet edges rather than overhanging into the gaps.
LED tape runs on low-voltage DC, typically 12 or 24 volt, fed by a driver that converts line voltage down. 24 volt systems handle longer runs with less voltage drop, so a long galley kitchen usually wants 24. The driver has to be sized above the connected load, again with roughly twenty percent of headroom, and it has to physically live somewhere accessible: inside a cabinet, in a soffit, or in a listed enclosure, never sealed inside a finished wall.
If you want the lights to dim, the driver has to be a dimmable driver and the wall dimmer has to be compatible with it. A dimmable driver on a mismatched dimmer flickers, buzzes or cuts out at the bottom of the range. Manufacturers publish tested combinations, and we pick driver and dimmer as a pair rather than assuming any dimmer will work. That assumption is the single most common mistake in do-it-yourself under-cabinet installs.
The wiring is what makes it look professional. Low-voltage runs get routed through cabinet stiles, up the back of the cabinet boxes, or through a shallow channel cut in the wall behind them, and the driver lands in a cabinet or the sink base where it can be reached later. On a remodel with the backsplash off, this is easy work. On a finished kitchen it takes more care, but it is almost always possible without damage that anyone will notice.
The feed to the driver is line-voltage work and follows the normal rules. It comes off a switched circuit so a wall switch or dimmer controls the run, rather than a cord dangling into a receptacle under the cabinet. Kitchen countertop receptacles exist to serve small appliances and should not do double duty as a permanent lighting feed. We run a proper switch leg, which is also what makes real wall dimming possible.
For kitchens, 3000K at 90 or higher CRI is the specification that consistently looks right. Food and skin tones need the color rendering, and 3000K holds up against daylight coming through a kitchen window without drifting yellow. Output around 200 to 400 lumens per linear foot covers most counters. If your ceiling fixtures are 2700K, match the under-cabinet run to them instead, because consistency across the room beats hitting the ideal number in isolation.
The same approach works well beyond the kitchen. Display shelving, a bar back, a laundry counter, the inside of a pantry on a door switch, a bathroom vanity under a floating cabinet, and workbench lighting in a garage all use the same linear LED, channel and driver system. Toe-kick lighting on a separate low-output run gives a kitchen a soft night light so nobody has to turn on the main fixtures at two in the morning.
We measure every cabinet section, find the front-edge mounting line, and work out where the driver can live and still be reached later.
The line-voltage feed and the switch or dimmer location get settled first, since that determines the routing and whether any wall has to be opened.
Aluminum channel goes up at the front edge, tape is cut to fit each run, and low-voltage wiring routes through the cabinet boxes out of sight.
The driver is connected, the run is tested end to end for even output, and the dimmer trim is set so it dims smoothly to the bottom.
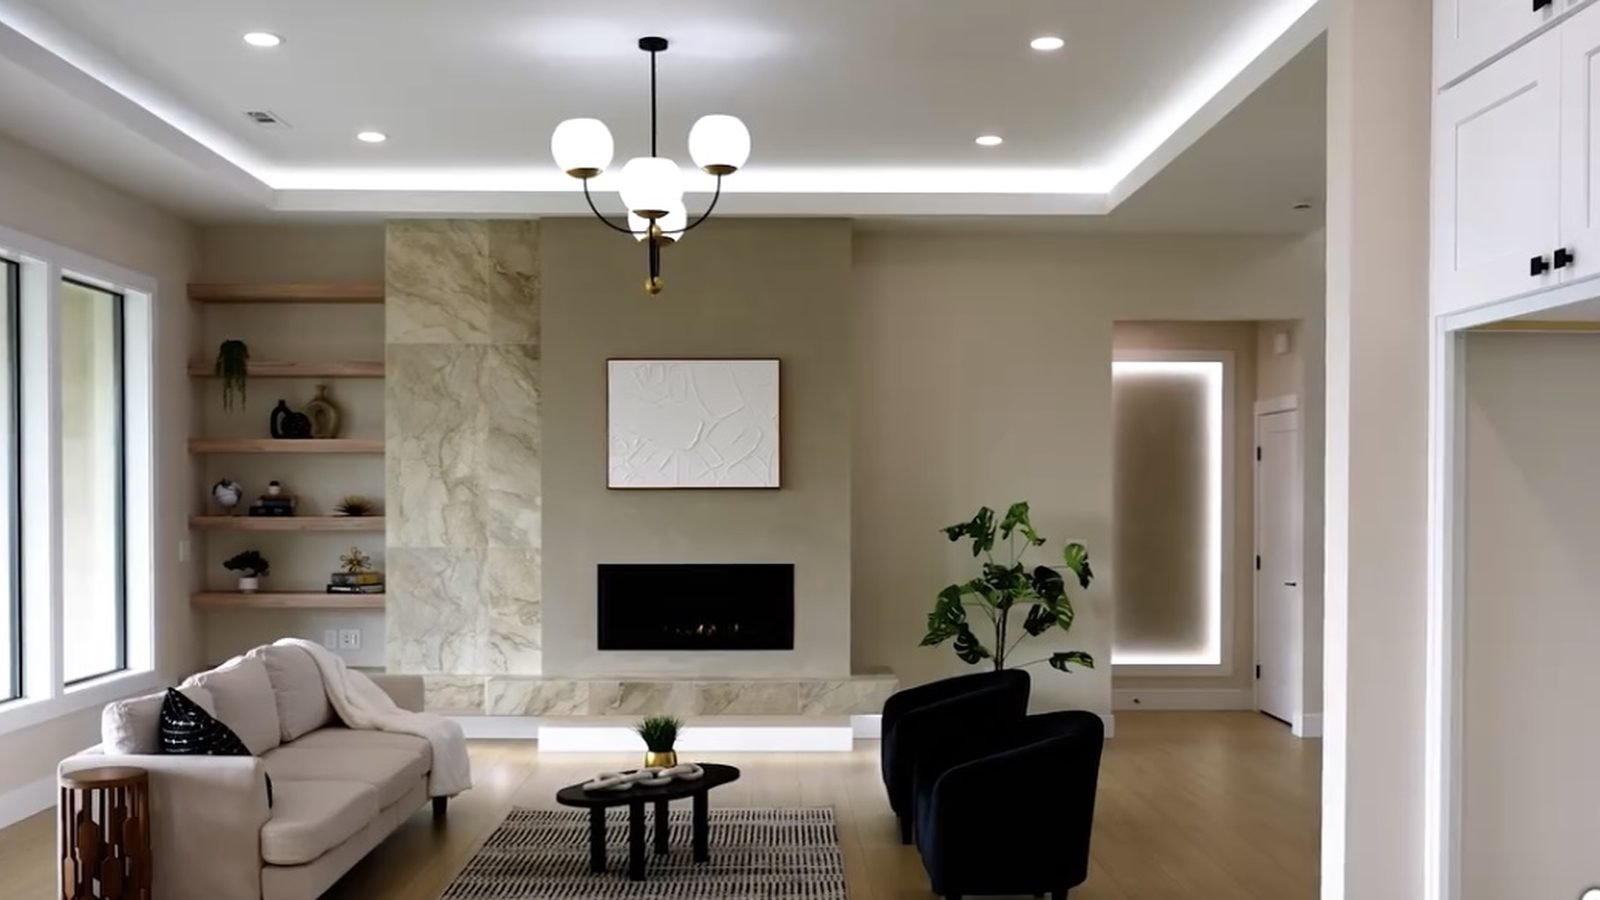
Recessed lighting installed in Kennewick, Richland and Pasco homes. IC-rated LED cans, correct spacing, dimming
See details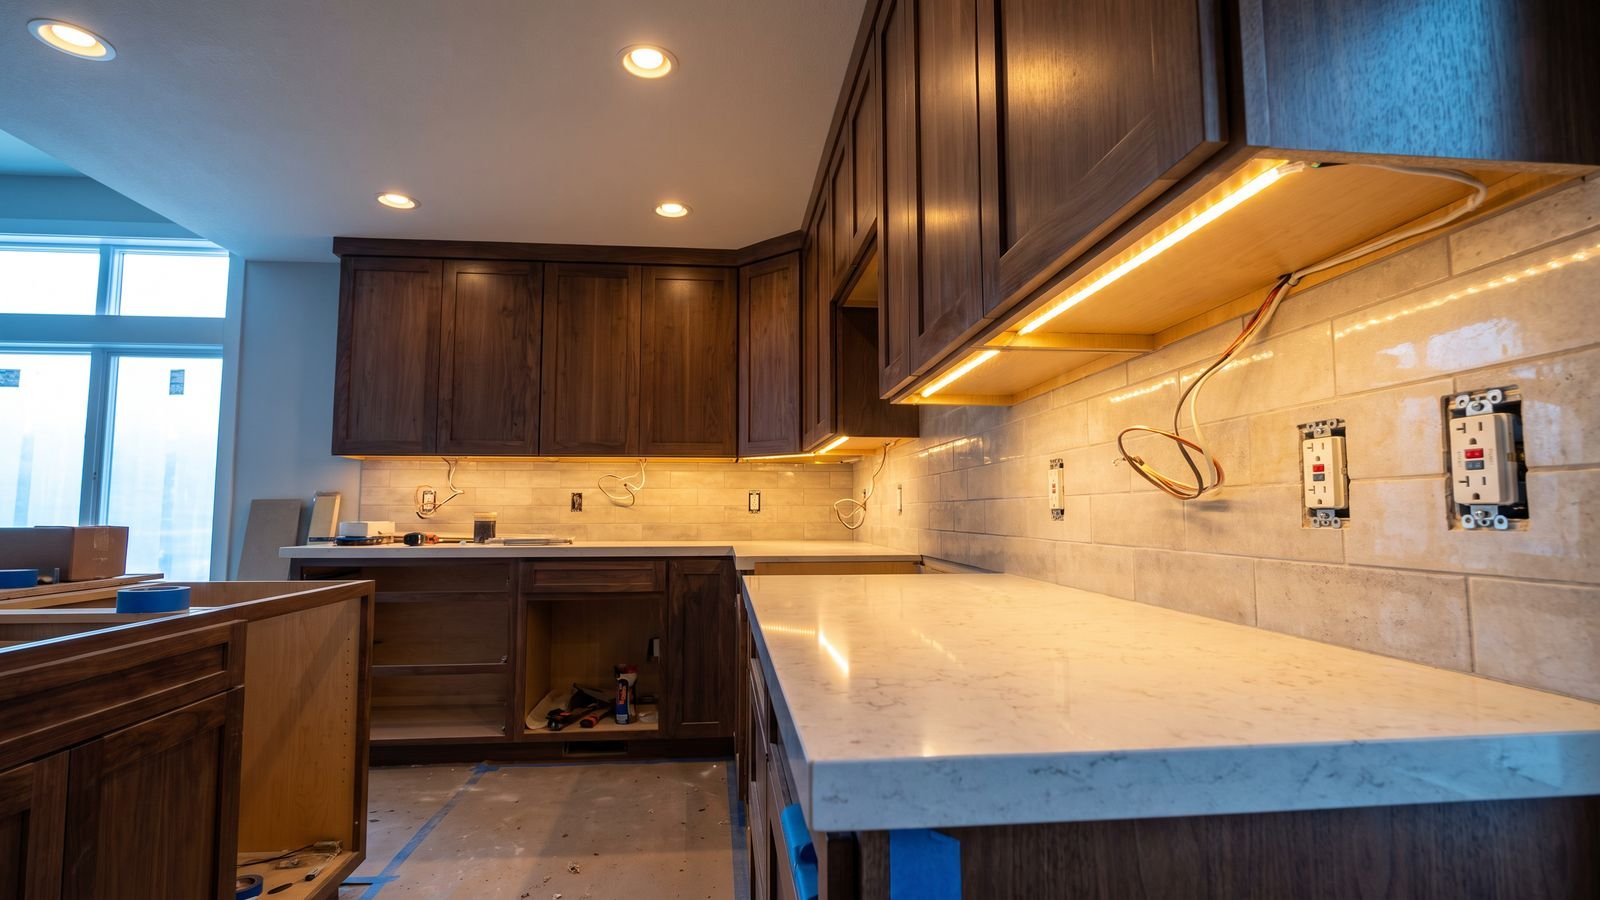
Kitchen remodel wiring in Kennewick, Richland, and Pasco. Appliance circuits, GFCI outlets, and layered lighting
See details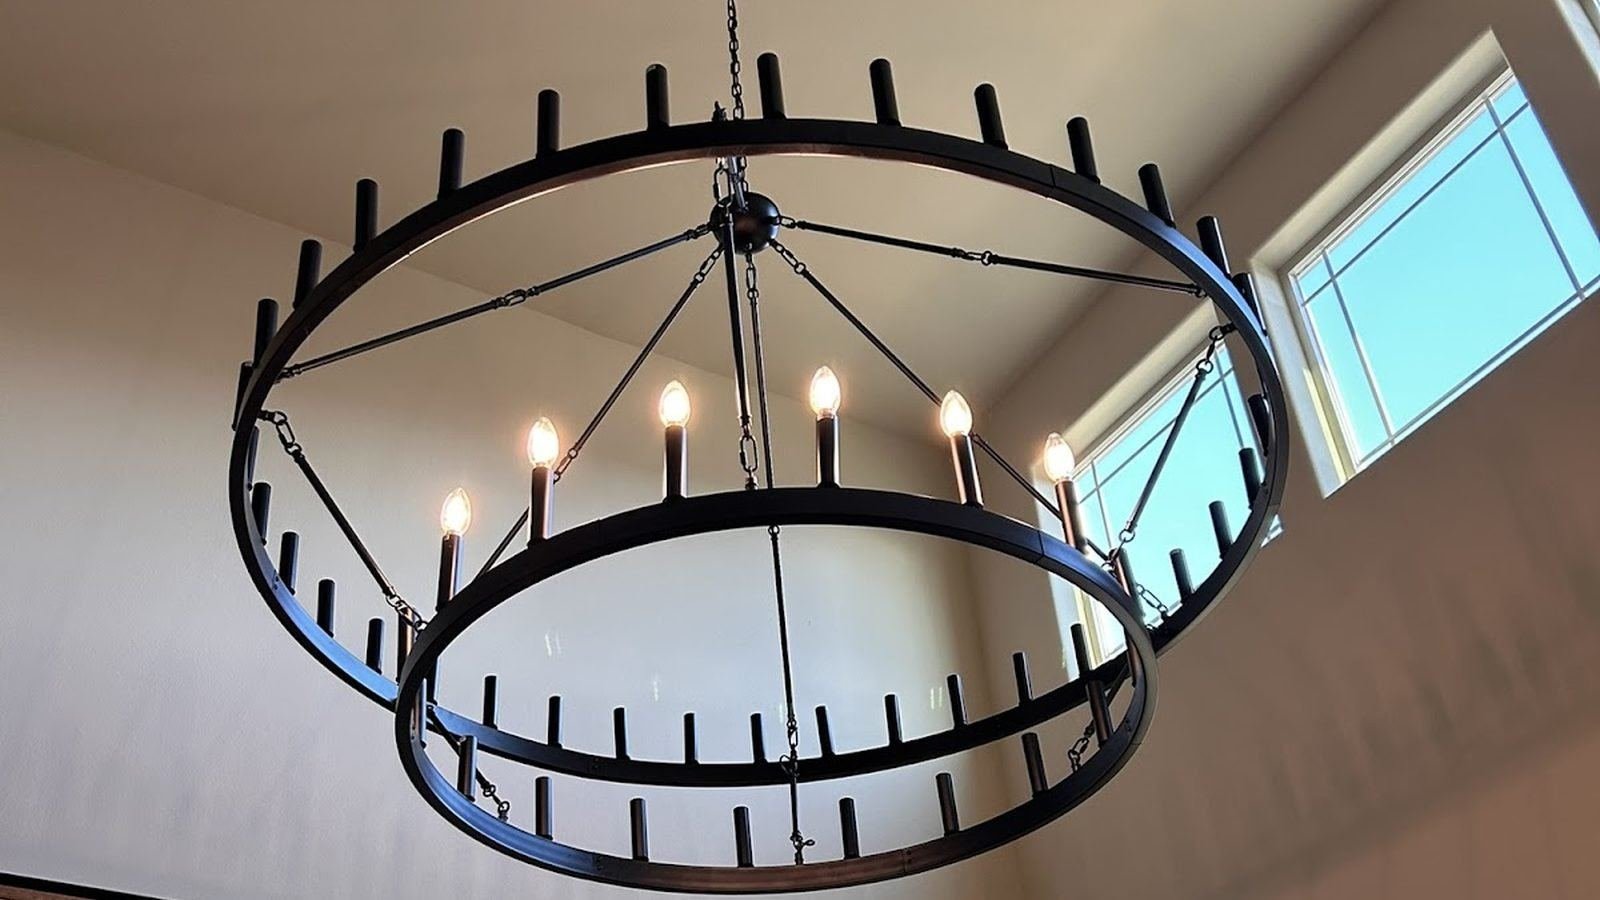
Whole-home lighting design for Tri-Cities builds and remodels. Layered ambient, task and accent light planned be
See detailsFree estimates across the Tri-Cities. Call Kyle and the crew, or send the details and we will come look.
We use cookies for basic analytics and to see which ads bring people here. No personal data is sold. Privacy policy