
One fixture lighting a whole room
A single center fixture puts everything directly under it in bright light and leaves the perimeter dim. You end up standing in your own shadow at the counter or the desk.
Recessed lights look simple and go wrong in predictable ways. Too few cans and you get dark corners. Too close to the walls and you get scalloping. Wrong color temperature and the kitchen reads like a warehouse. We lay out the ceiling before we cut a single hole, and we cut from a plan you have already seen and approved.
A single center fixture puts everything directly under it in bright light and leaves the perimeter dim. You end up standing in your own shadow at the counter or the desk.
Cans set too close to a wall throw crescent shapes up the surface. It reads as a mistake because it is one, and it is a layout problem rather than a fixture problem.
When lamps get replaced one at a time over the years, some read warm yellow and others cold blue. The eye picks this up immediately, even when nobody can name what is wrong.
Original housings built for 65 watt incandescent floods run hot, leak conditioned air into the attic, and add load to the air conditioner through a Tri-Cities summer.
LED retrofits dropped into old housings on old dimmers usually stop dimming partway down or flicker at the bottom. The lamp, the driver and the dimmer are not matched to each other.
Layout is most of the job. A working starting point is to space cans roughly half the ceiling height apart, so an eight foot ceiling gets fixtures about four feet on center, then adjust for what is actually below them. Keep the outer row far enough off the wall to avoid scalloping, usually somewhere between two and three feet depending on the beam angle and on whether you are deliberately washing artwork or cabinet fronts.
Then the layout has to survive the framing. Joists, trusses, HVAC ducts, plumbing vents and existing wiring all live in that ceiling, and a hole drawn on paper does not always land in open space. We locate framing before cutting, adjust the grid so it still reads as symmetrical from the doorway, and keep fixtures square to the room and to each other rather than to whichever way the joists happen to run.
If the housing will be in contact with insulation, it has to be IC rated. Non-IC housings require clearance from insulation and from combustible material under NEC 410.116, and in a Tri-Cities attic full of blown-in insulation that clearance is close to impossible to maintain over time. IC-rated housings are built to be buried. This is not a preference. It is what keeps the fixture from cooking itself and what keeps the inspection clean.
Air sealing matters just as much. Every unsealed can is a hole between conditioned space and an attic that hits well over 130 degrees on a July afternoon. Airtight housings and gasketed trims cut that leakage, and it shows up on the power bill in both July and January. Canless wafer LEDs with an integral junction box handle this well in remodels, because the box mounts to the side and the fixture is thin enough to fit a shallow bay.
Color temperature is measured in Kelvin. 2700K is close to the warm light of an old incandescent bulb, 3000K reads clean and slightly crisper and is what most kitchens want, and 4000K is noticeably cool and belongs in a garage or a shop rather than a living room. The rule that matters more than the number is consistency. Every fixture in a connected space should share one temperature, including under-cabinet runs and pendants.
Color rendering index describes how accurately a light source shows color. At 80 CRI, reds go flat and food and skin tones look slightly off. At 90 or above, the difference is obvious side by side. For kitchens, bathrooms and anywhere you look at yourself or your food, we spec 90 or higher. Many selectable fixtures let you set both Kelvin and lumen output with a small switch before install, and we set those rather than leaving the factory default.
Fixtures over a shower or a tub need to be listed for damp or wet locations depending on where they land relative to the enclosure, and they need a sealed lens rather than an open trim. Laundry rooms and covered patios follow the same logic. An interior trim installed in a shower is one of the more common things we replace, and it fails slowly through corrosion and moisture in the housing rather than all at once on a single day.
For dimming, the driver in the fixture and the dimmer on the wall have to be compatible. Most modern LED recessed fixtures want a reverse-phase or LED-rated dimmer, and manufacturers publish tested pairings. We also watch the minimum load, since a short run of two or three low-wattage fixtures can sit below what an oversized dimmer needs to operate smoothly. This is why your lights dim to ten percent instead of cutting out at forty.
We measure the room, mark the grid, and walk it with you before anything gets cut. Changes cost nothing at this stage.
Joists, ducts and existing wiring get found before the hole saw comes out, and the grid gets adjusted so it still looks symmetrical from the door.
Housings or wafers go in, circuits are pulled to the switch location, and every fixture is set to the same Kelvin and lumen output.
We set the dimmer trim, aim any adjustable trims, and haul out the drywall dust and packaging before we leave.
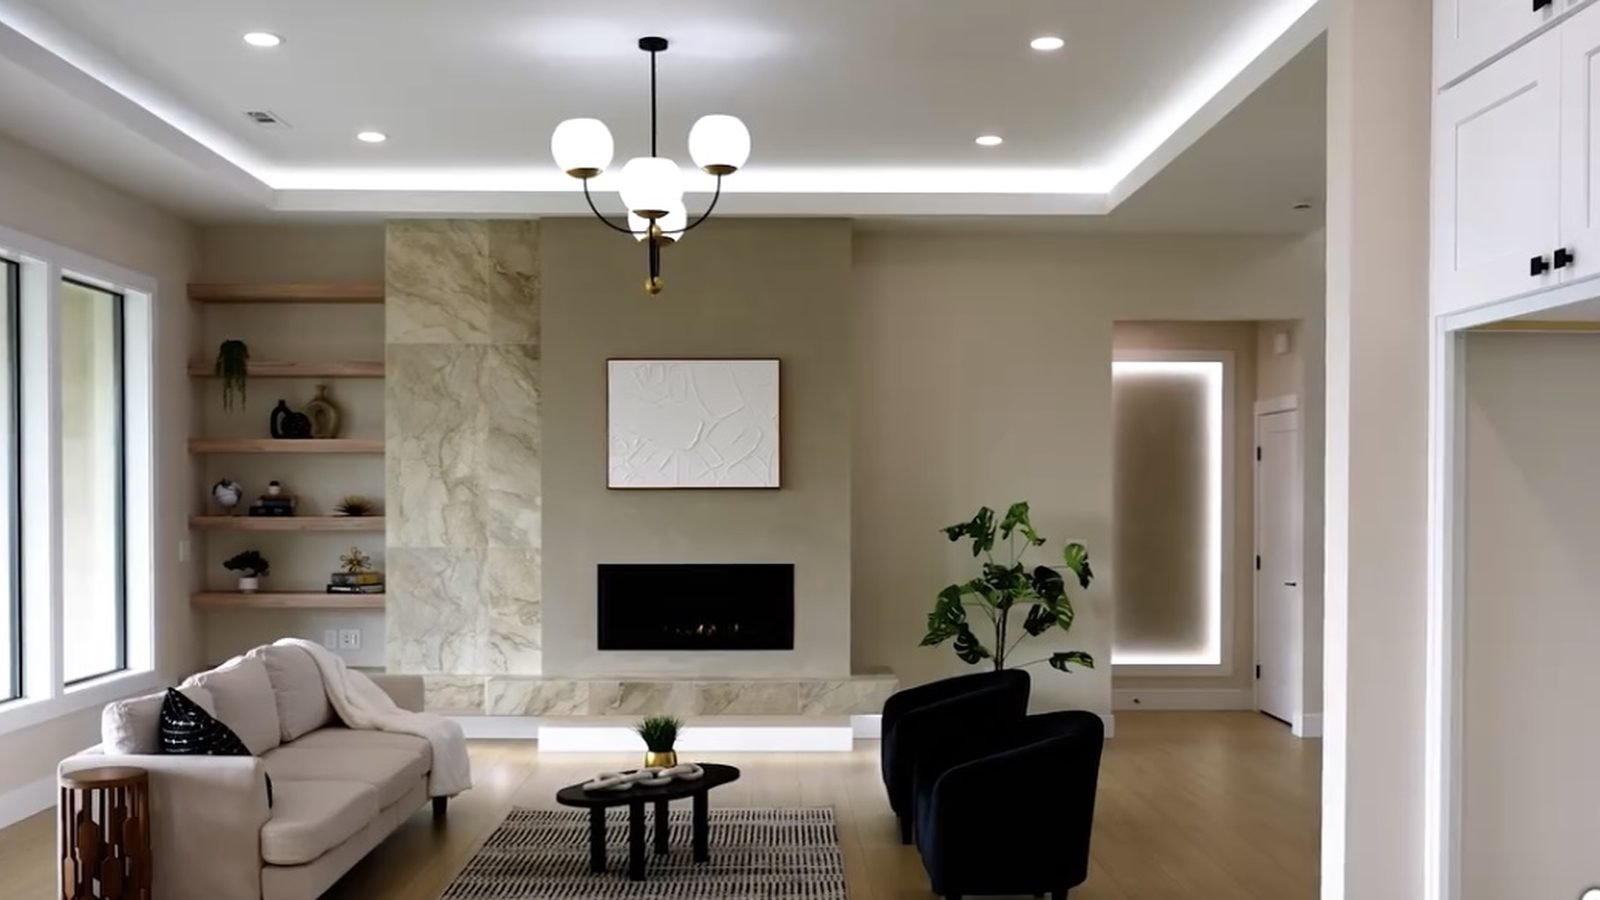
LED retrofit for Tri-Cities homes, garages and shops. Fixture conversions, ballast bypass, dimmer upgrades that
See details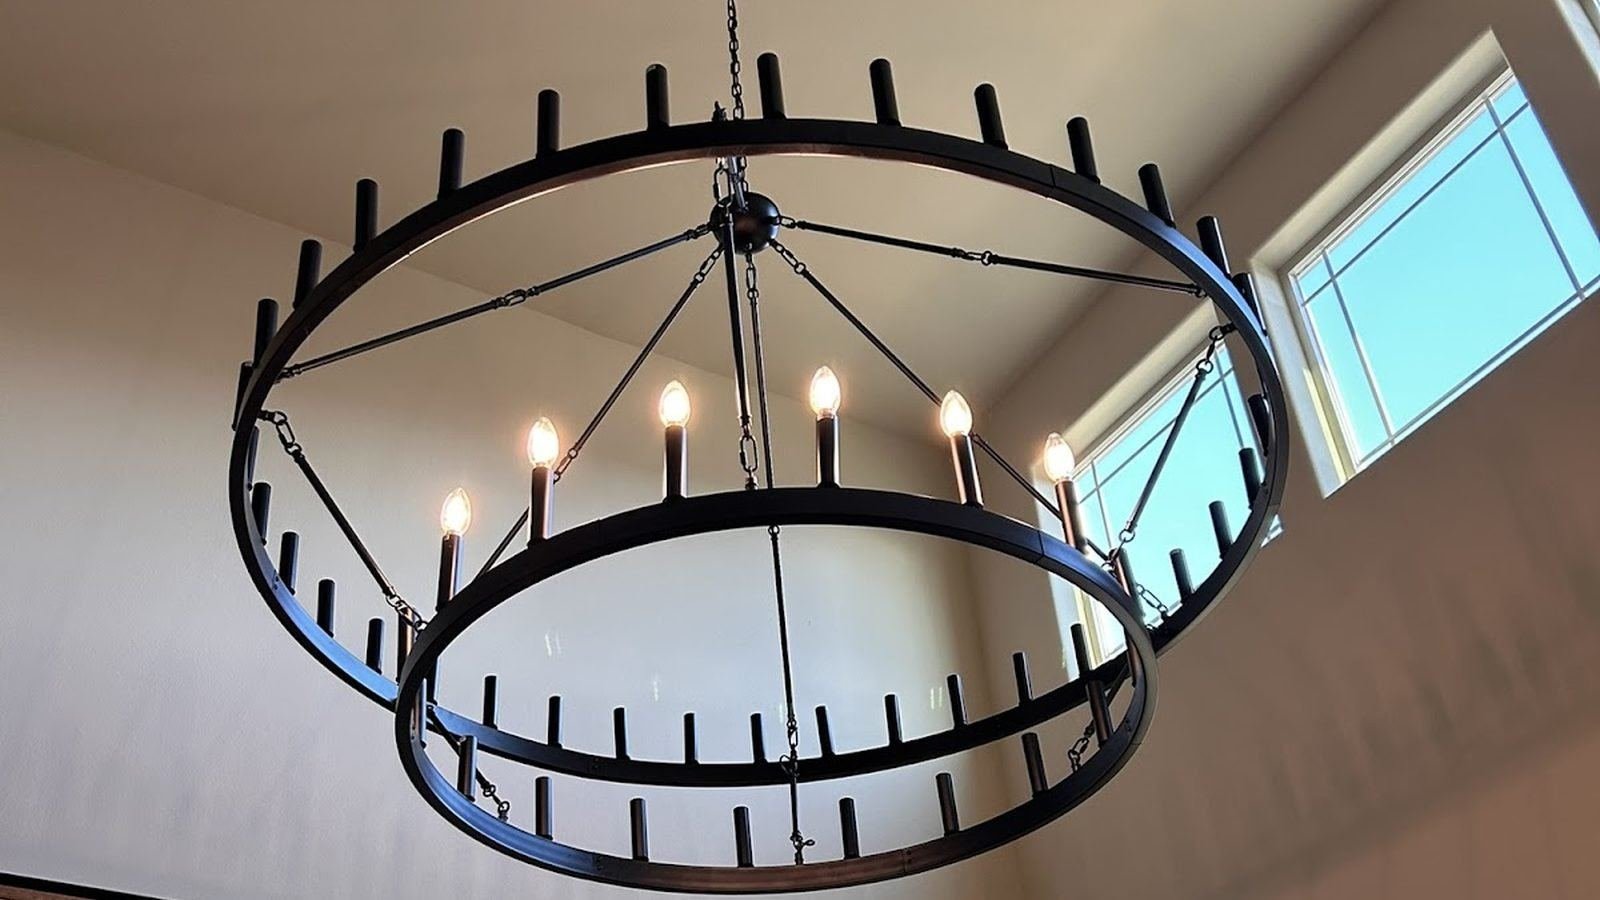
Whole-home lighting design for Tri-Cities builds and remodels. Layered ambient, task and accent light planned be
See detailsHardwired under-cabinet lighting for Tri-Cities kitchens. Even linear LED, hidden wiring, dimming that works rig
See detailsFree estimates across the Tri-Cities. Call Kyle and the crew, or send the details and we will come look.
We use cookies for basic analytics and to see which ads bring people here. No personal data is sold. Privacy policy