
Fluorescent tubes hum and flicker
Flicker and hum at startup mean an aging ballast. Magnetic ballasts get louder as they fail, and replacing one costs about what converting the fixture to LED costs.
Swapping bulbs is the easy part of an LED retrofit and rarely the part that matters. Old dimmers do not like LED loads. Fluorescent fixtures still have ballasts sitting in them. Recessed cans built for 65 watt floods leak conditioned air into a scorching attic. We convert the fixtures and the controls together, so the result actually works.
Flicker and hum at startup mean an aging ballast. Magnetic ballasts get louder as they fail, and replacing one costs about what converting the fixture to LED costs.
Halogen floods, several incandescent shapes and certain pin-base lamps have gotten hard to source. When you are hunting for bulbs, the fixture is the real problem.
Incandescent and halogen lamps turn most of their energy into heat. During a Tri-Cities summer that heat is load your air conditioner has to pull back out.
Dimmers built for incandescent loads misbehave with LED. If you have already swapped bulbs and the dimming got worse, the control is what needs to change next.
Fluorescent tubes lose output in cold weather and start slowly in an unheated Tri-Cities garage in January. LED strips reach full output the moment you flip the switch.
There are three levels of LED conversion and they are not interchangeable. A lamp swap puts an LED bulb into an existing socket, which is fine for table lamps and simple fixtures. A retrofit kit replaces the guts of an existing housing with an LED module and trim, which works well in existing recessed cans and is listed for that use under UL 1598C. A full fixture replacement swaps everything, and it is the right call when the housing itself is the problem.
Choosing between them depends on what is actually wrong. If a recessed can is IC-rated, airtight and in good condition, a retrofit kit is efficient and inexpensive. If the housing is a non-IC can buried in blown-in insulation, or an old fixture that leaks air into the attic, replacing it solves problems a retrofit module never can. We look at the housings before quoting, so you are not paying for the wrong level of work.
Fluorescent tube fixtures can go to LED three ways. A plug-and-play tube runs off the existing ballast, which is the fastest option and leaves you with a ballast that will eventually fail anyway. A ballast-bypass tube gets wired directly to line voltage with the ballast removed, which eliminates that failure point. Or the whole fixture gets replaced with an integrated LED strip or troffer, which is often the best value in a shop or a garage.
Ballast bypass has to be done correctly and labeled. The fixture gets rewired, the ballast is removed rather than left in place disconnected, and the fixture is marked so the next person knows line voltage is present at the lampholder. Single-ended and double-ended tubes are wired differently and are not interchangeable with each other. This is one of the more common things we find done wrong in garages, and it is a genuine hazard.
The most common complaint after an LED conversion is dimming behavior, and it is a control problem rather than a lamp problem. Dimmers designed for incandescent loads expect a large resistive load and a minimum current draw that LED lamps simply do not provide. The result is flicker, a dead zone at the bottom, or lights that will not turn on until the dial is halfway up. An LED-rated dimmer with an adjustable low-end trim fixes almost all of it.
Light quality is worth spending on. Cheap LED product has low CRI, visible flicker at some dimming levels, and poor color consistency between units, so two fixtures out of the same carton look different on the ceiling. Spec 90 or higher CRI in living spaces, hold one Kelvin value per connected area, and buy from a line with tight color binning. The gap between good and bad LED product is far larger than the gap in price.
Incandescent and halogen lamps turn most of their input into heat. Removing that heat from living space during a Tri-Cities July matters, because every watt a lamp adds is a watt the air conditioner has to move back out of the house. The effect is largest in kitchens and in rooms with a lot of recessed cans, which is exactly where high-wattage lamps were most concentrated. In winter, that heat was never a useful source of warmth anyway.
Load reduction also frees up capacity. On an older panel that is close to full, converting lighting circuits reduces calculated load, which can matter when you later want a heat pump, a hot tub or an EV charger. It is rarely enough on its own to avoid a service upgrade, and we will not pretend otherwise. But it is a real number in a load calculation, and it is worth doing before that calculation gets run for a big new load.
We walk the house or shop and list fixture types, lamp types, housings, ballasts and the dimmer on each circuit.
Lamp swap, retrofit kit or full fixture replacement gets decided fixture by fixture, based on housing condition and what is actually wrong.
Fixtures get converted, bypassed ballasts get removed and the fixtures labeled, and incompatible dimmers get replaced on the same visit.
We dim every circuit to the bottom to check for flicker and drop-out, and confirm the Kelvin matches across each connected area.
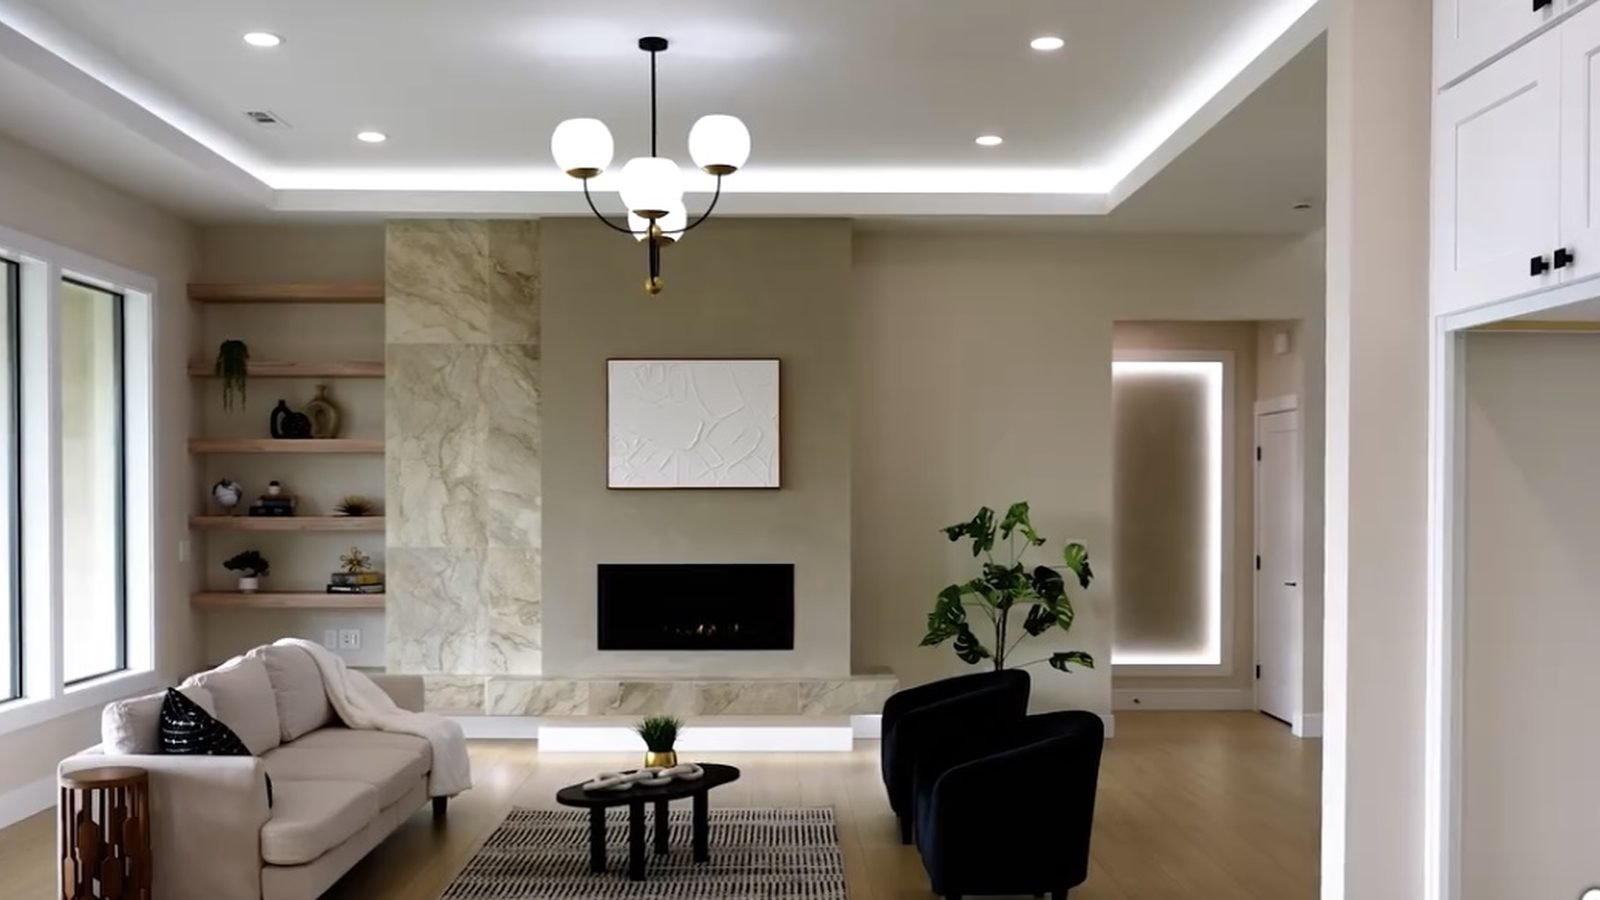
Recessed lighting installed in Kennewick, Richland and Pasco homes. IC-rated LED cans, correct spacing, dimming
See details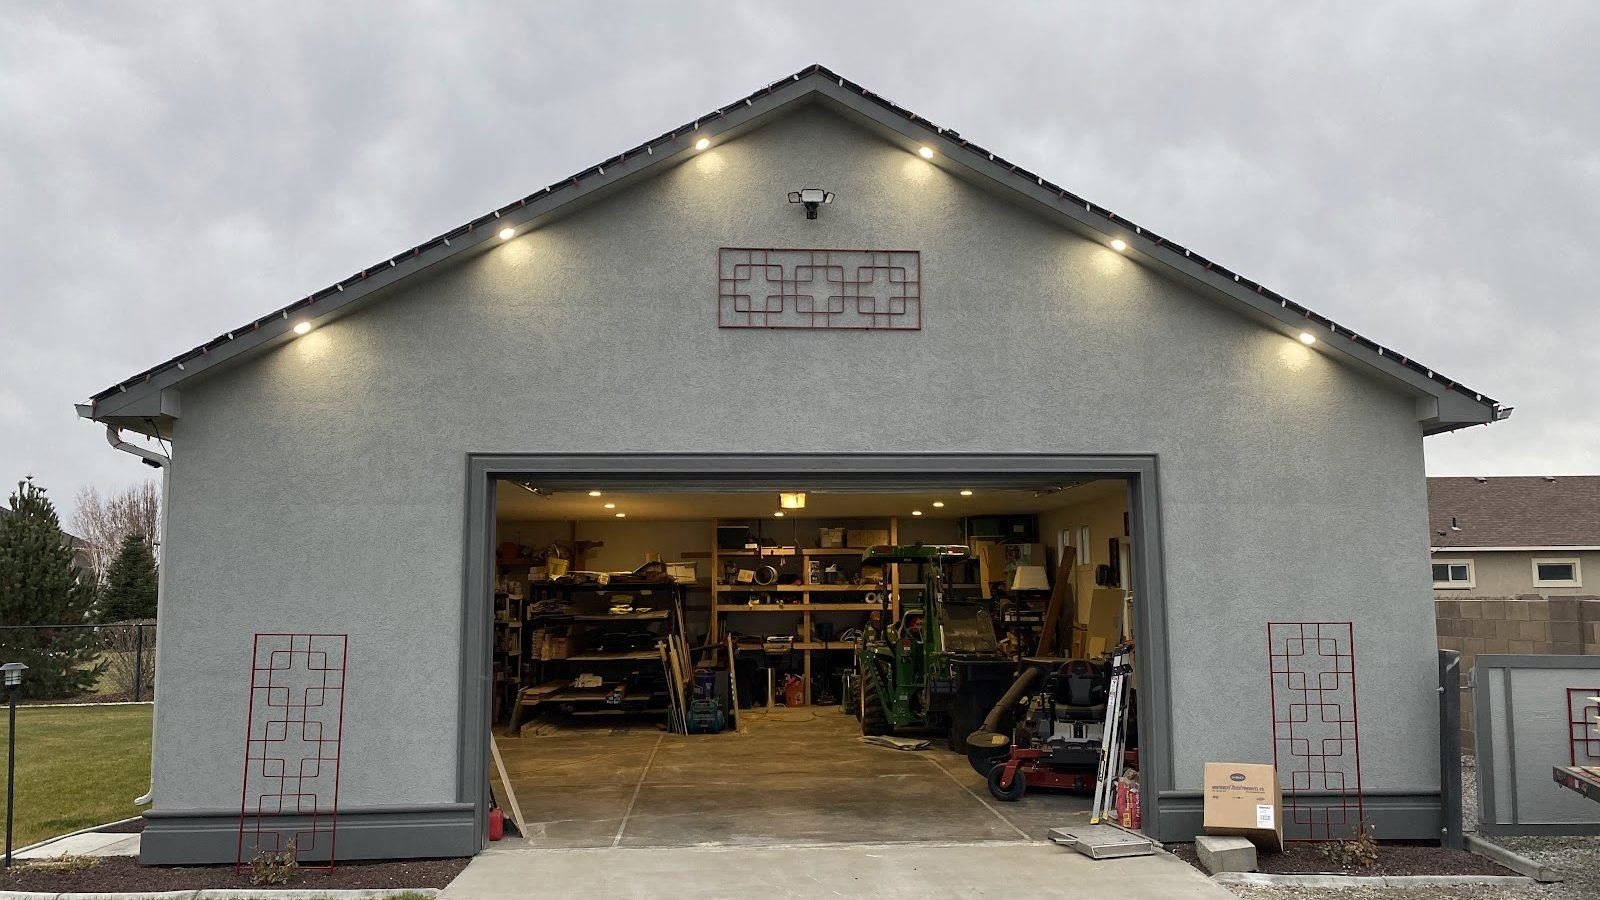
Shop and garage wiring in the Tri-Cities. Subpanels, 240 volt tool circuits, lighting, and detached building fee
See details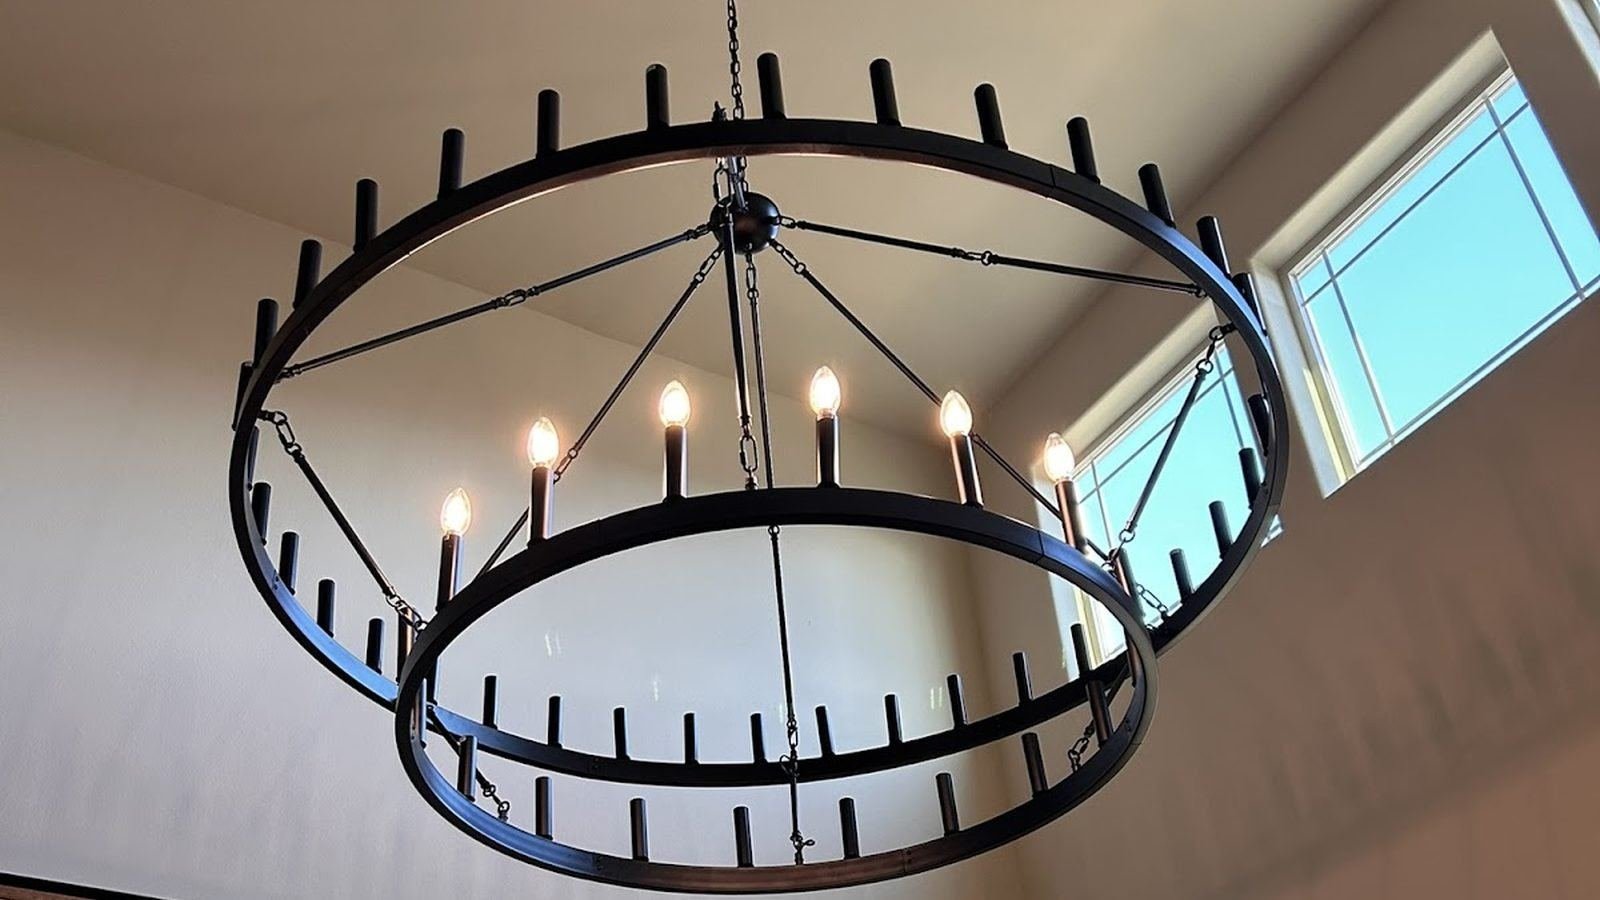
Whole-home lighting design for Tri-Cities builds and remodels. Layered ambient, task and accent light planned be
See detailsFree estimates across the Tri-Cities. Call Kyle and the crew, or send the details and we will come look.
We use cookies for basic analytics and to see which ads bring people here. No personal data is sold. Privacy policy